Overview
Sending Emails using AWS Simple Email Service (SES) is easy with Notivize!
You'll need an IAM user with the correct permissions and a verified email address in SES to set up your integration and let the magic happen.
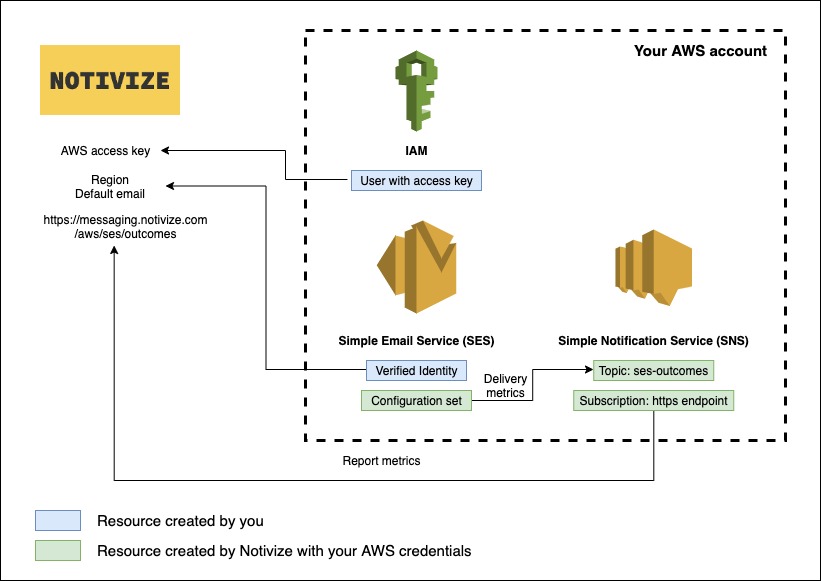
AWS IAM user
In order for us to be able to create the required resources for sending emails via SES and tracking their delivery metrics, we will need an AWS access key id and secret key with the following permissions:
- AmazonSNSFullAccess
- AmazonSESFullAccess
🔒 List of permissions
The reason we ask for full access on SNS and SES is to make sure we can create the required resources to send emails, verify your configuration and track delivery data. It also means we won't have to ask you to change your permissions in the future if we add more features to our integration with SES.
However, we understand that security is important and you may want to limit the permissions to the strict minimum. Here is the exact list:
- ses:CreateConfigurationSet
- ses:CreateConfigurationSetEventDestination
- ses:CreateContact
- ses:CreateContactList
- ses:CreateCustomVerificationEmailTemplate
- ses:CreateEmailTemplate
- ses:GetConfigurationSet
- ses:GetConfigurationSetEventDestinations
- ses:GetContact
- ses:GetContactList
- ses:GetCustomVerificationEmailTemplate
- ses:GetEmailIdentity
- ses:GetIdentityVerificationAttributes
- ses:ListContactLists
- ses:ListContacts
- ses:ListCustomVerificationEmailTemplates
- ses:SendCustomVerificationEmail
- ses:SendEmail
- ses:SendRawEmail
- ses:UpdateCustomVerificationEmailTemplate
- ses:VerifyDomainIdentity
- ses:VerifyEmailAddress
- ses:VerifyEmailIdentity
- sns:CreateTopic
- sns:Publish \t\t
- sns:Subscribe
SES verified email
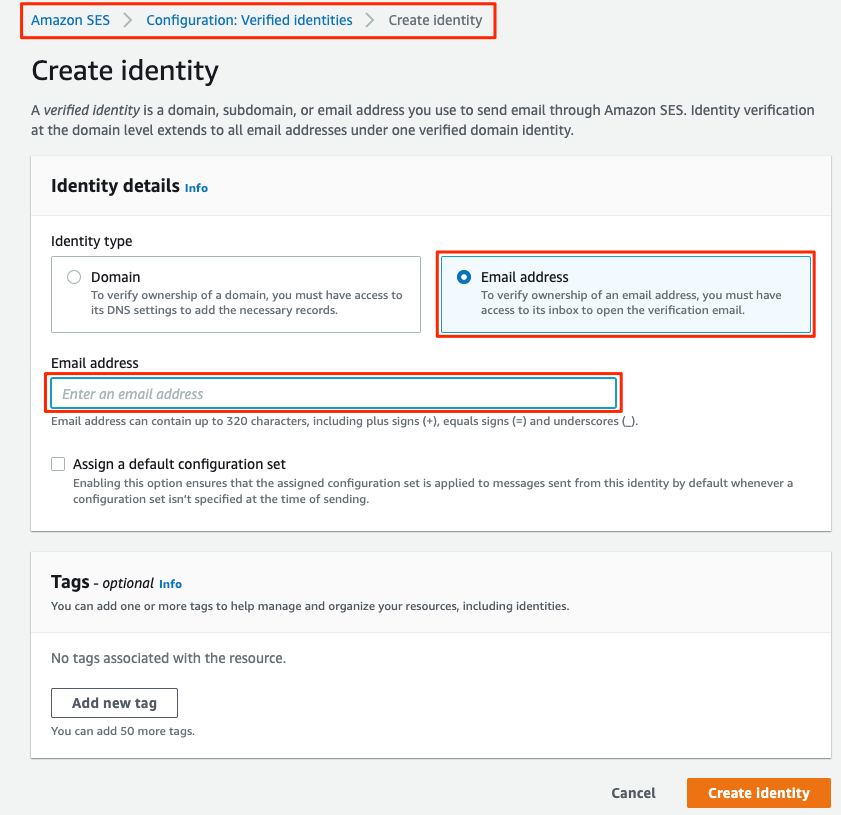
One of the pre-requisites is to verify the email address you will use with Notivize.
- In order to do that, go over to your AWS SES console and follow the "Create identity" wizard.
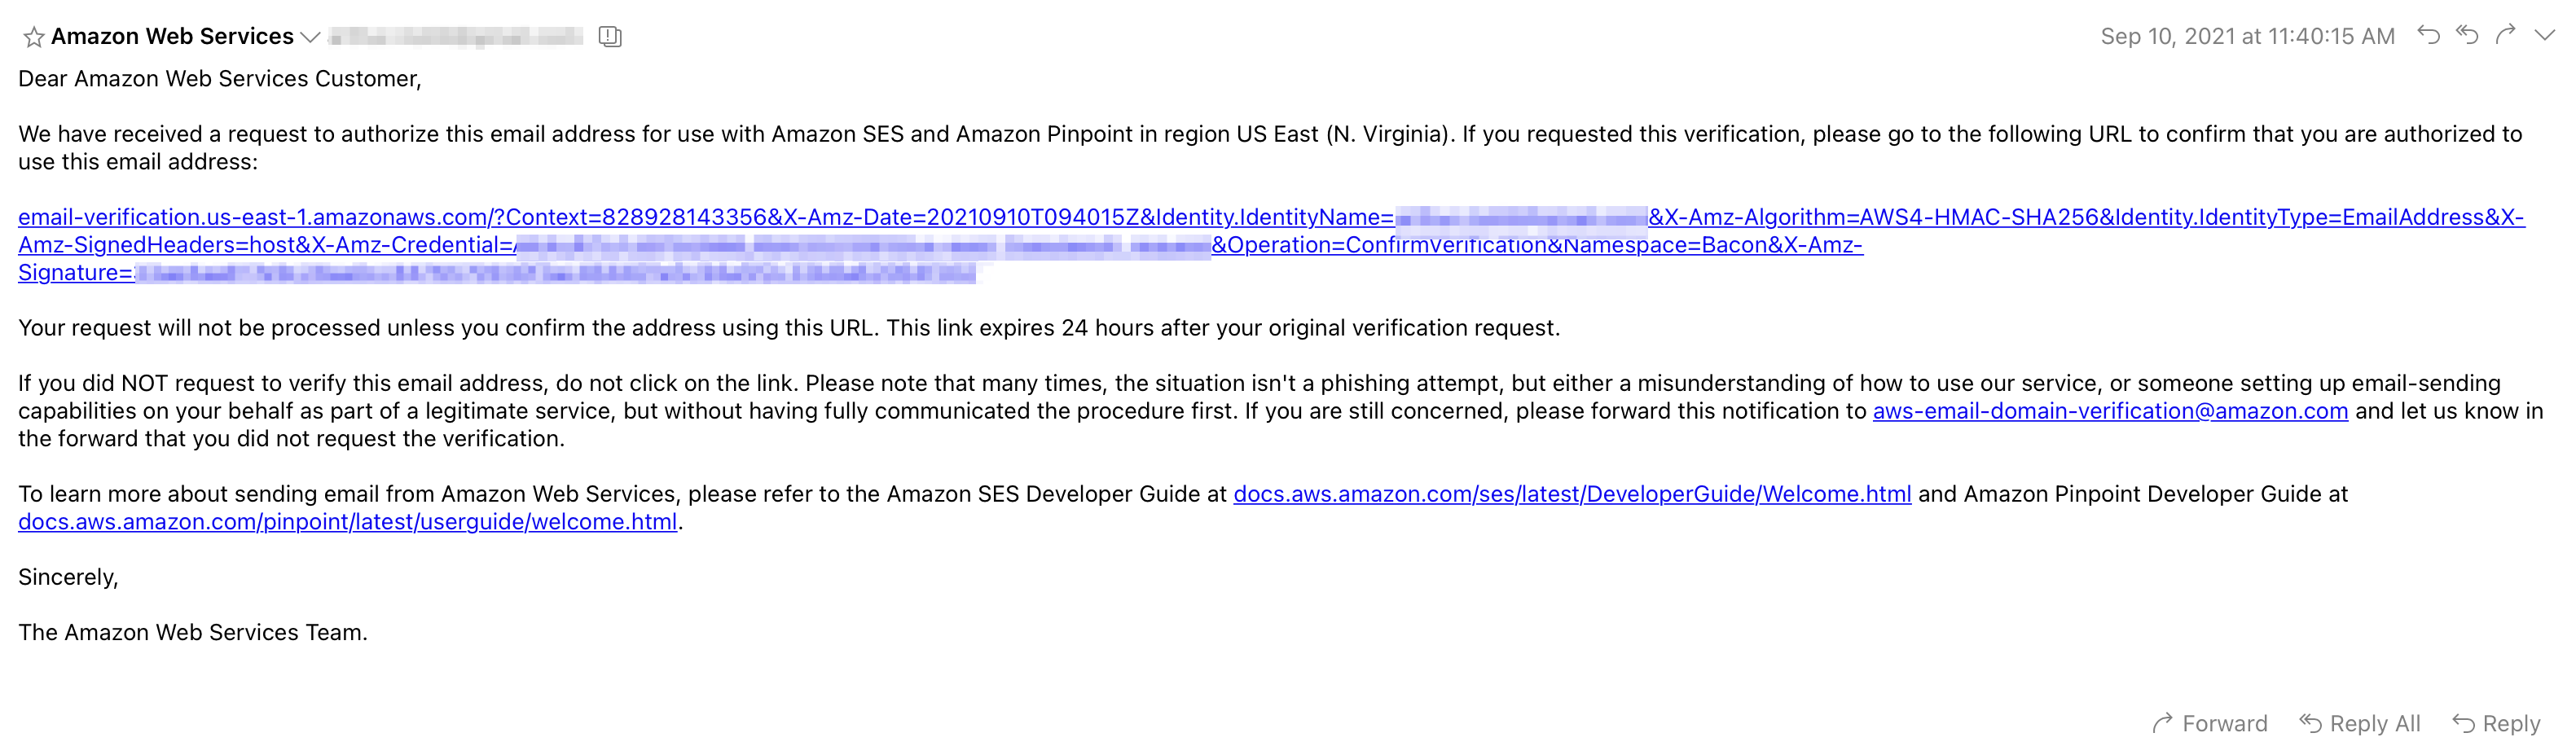
- You should receive a verification email. Click on the verification link to proceed.
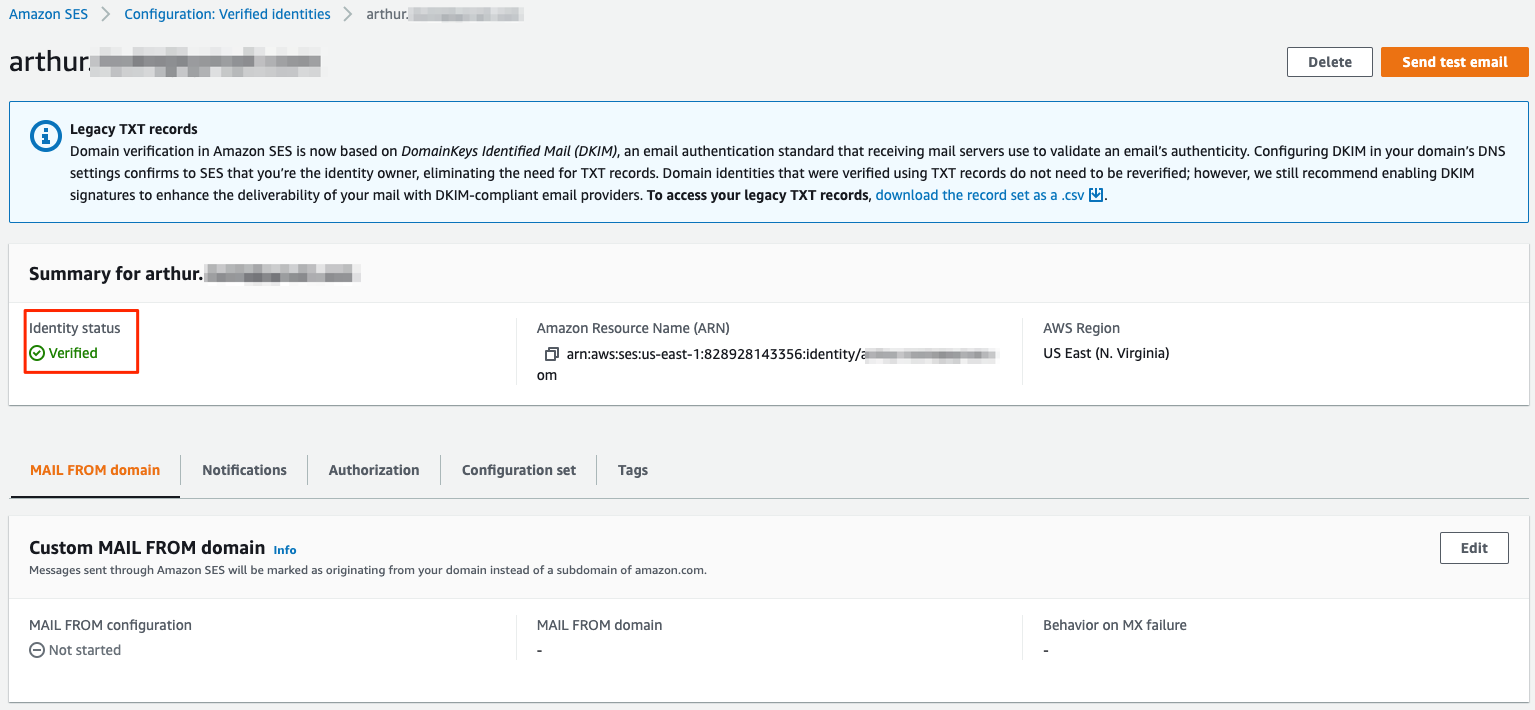
- You should see the following message.
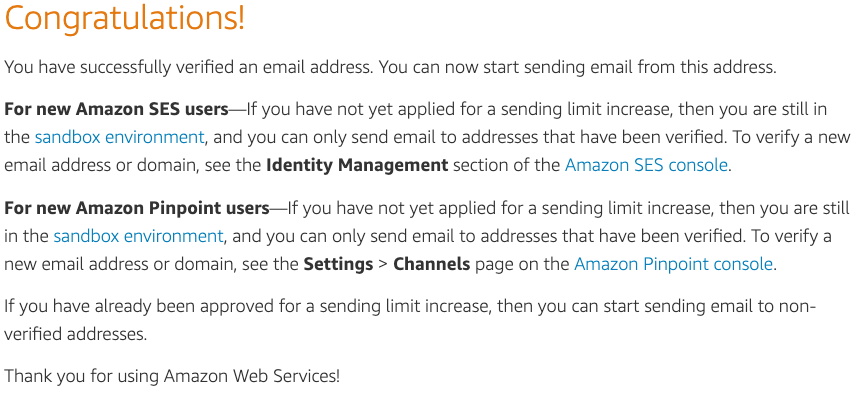
- You can refresh your identity page to check that the "Identity status" is now "Verified".
Integrate with Notivize
Now that you have completed the boring part, let's get to it!
- Go to https://home.notivize.com
- Sign in into your account
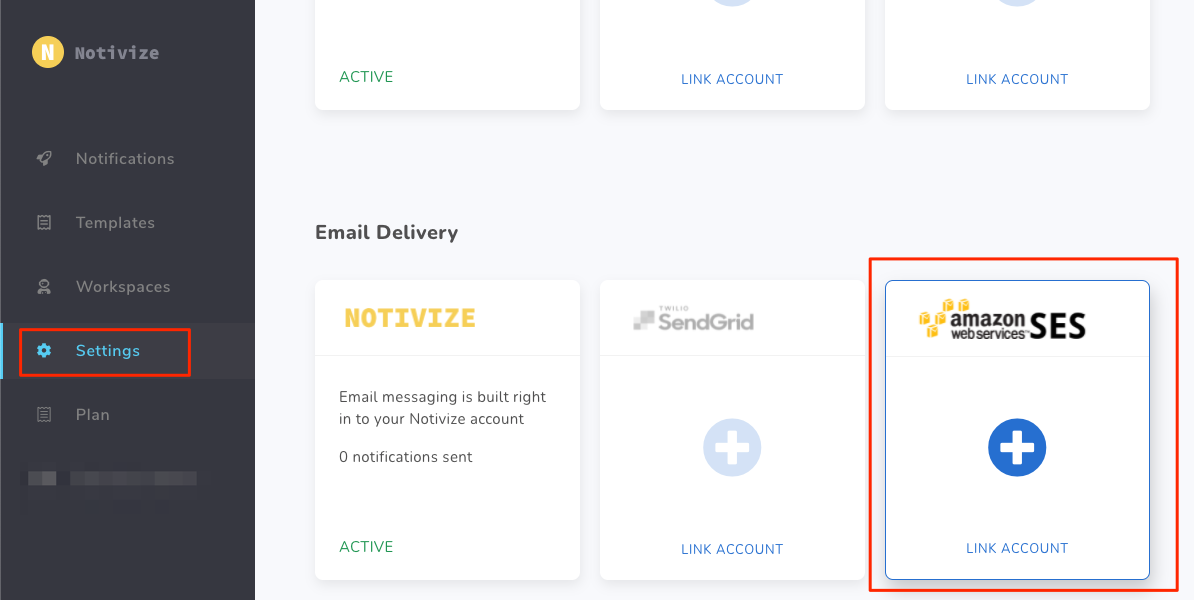
- Go to "Settings"
- Click on "Link Account" from the SES card
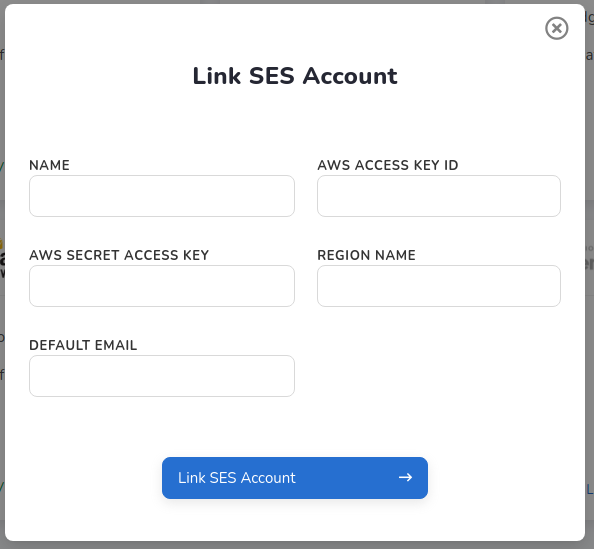
- Give the service a name you can remember easily, use the IAM user credentials to fill
AWS ACCESS KEY IDandAWS SECRET ACCESS KEY, and use the SES identity matching details to fillRegion NameandDefault Email. - Click
Link SES Account
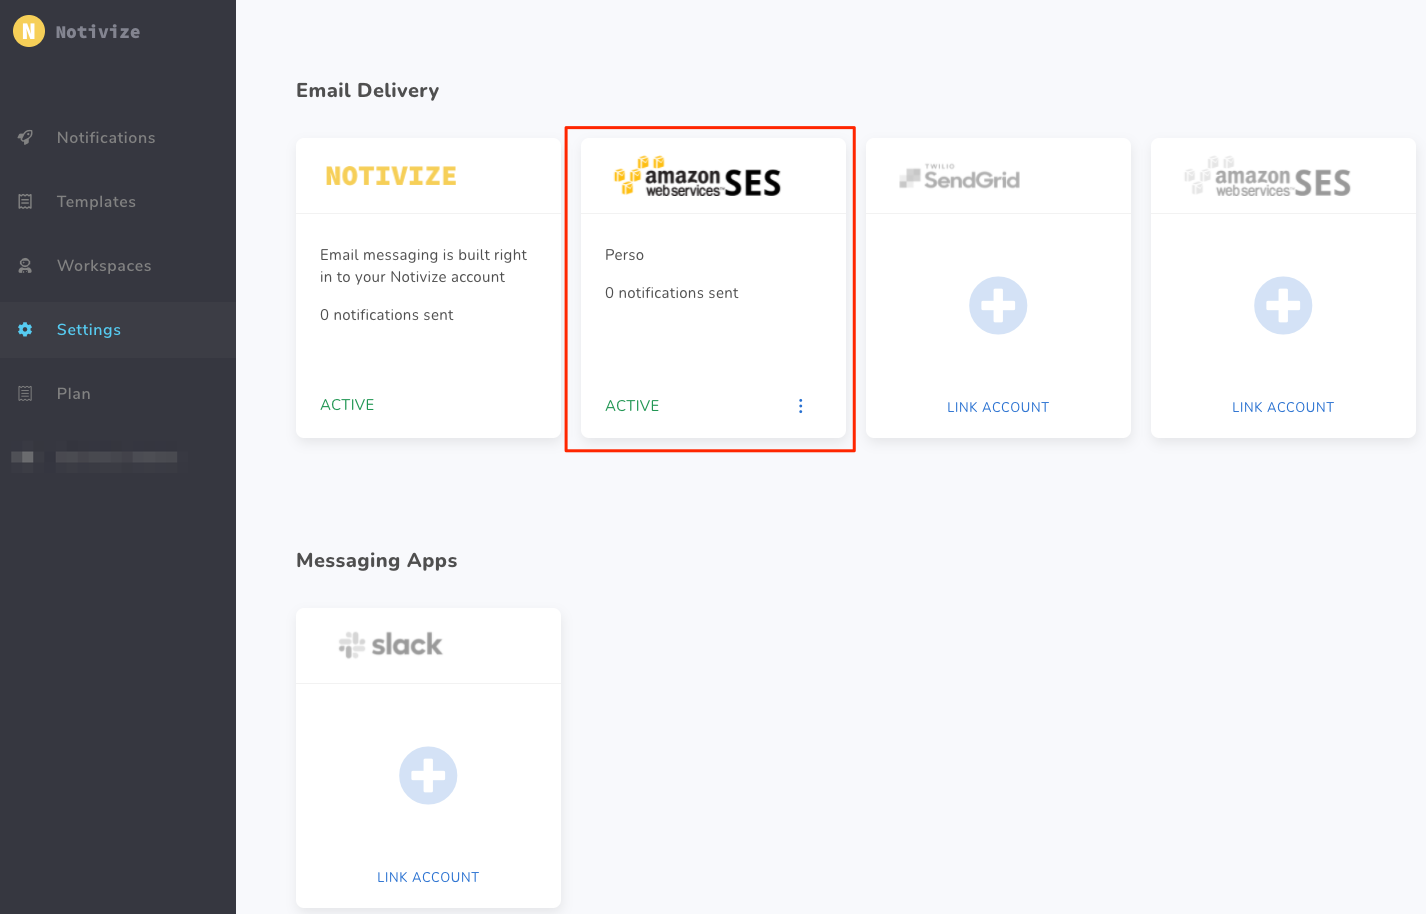
You have now successfully linked your SES account with Notivize! 🎉 You are good to go and now you can select it as a service while creating/editing notifications. ✨
❗️ Integration Failure
If you get an error or the status of your integration shows "Inactive", make sure you have given your IAM user the correct permissions and try again.
You can also contact us at help@notivize.com, we'd be happy to help!